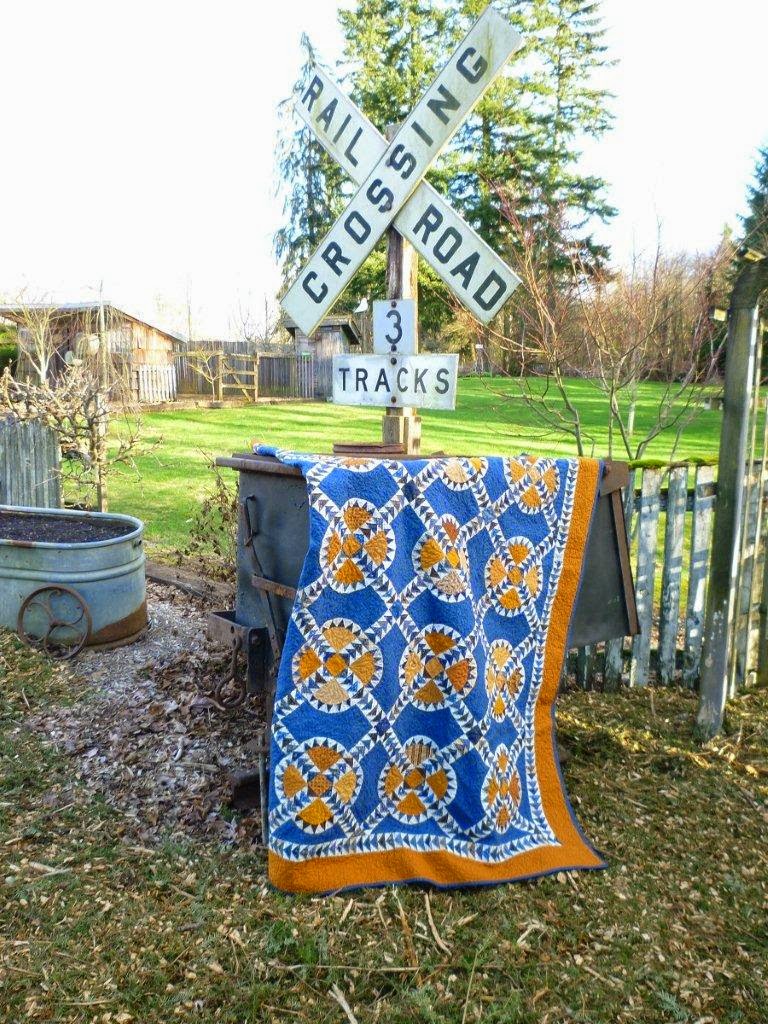
My friend Laurie made this wonderful Railroad crossing quilt. You can find info about it HERE.
I told her my one regret was not making mine larger, so she did! I know she took that photo in her backyard. Isn't that an adorable setting for this quilt?
This quilt started a fun friendship!

Here's mine.

Dale Renee sent me a photo of her lovely MidWinter Blues from my quiltalong.
What's not to love?!
Thank you ladies for sending me photos. I really do enjoy seeing your quilts.

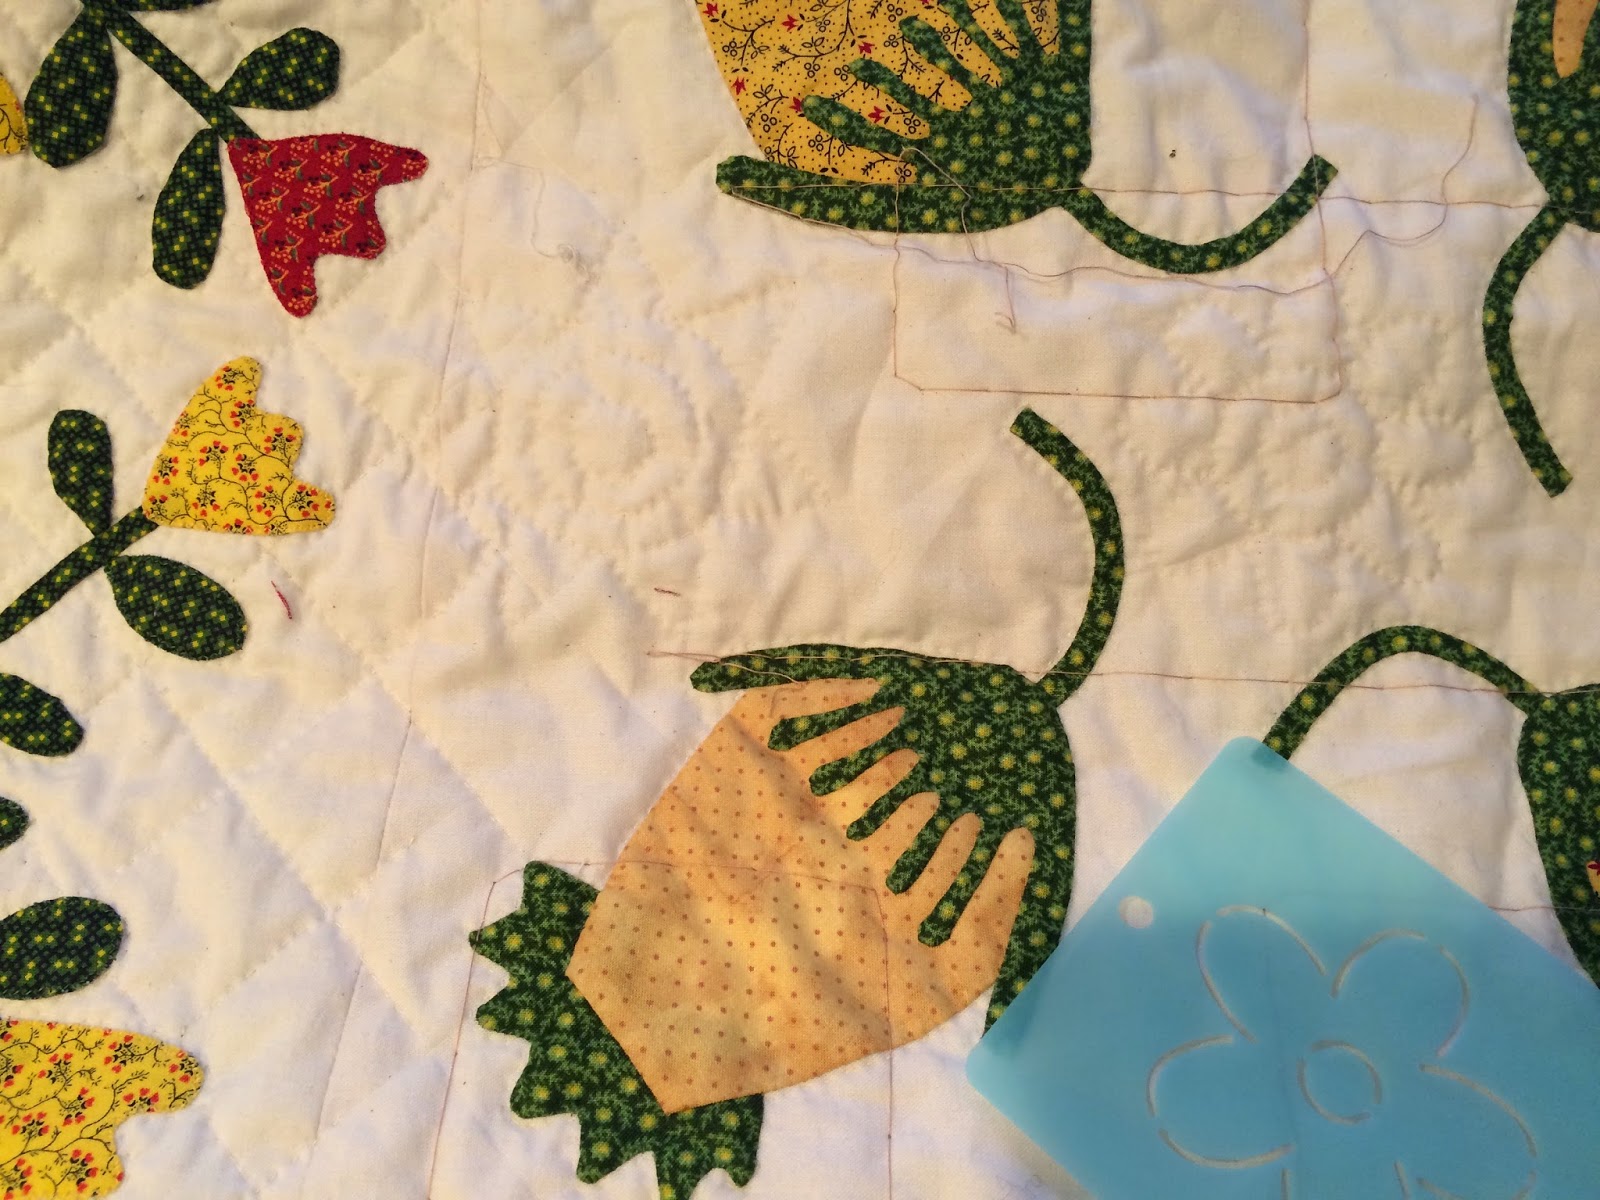
Here's the fabric I chose for the border of Flags of the American Revolution. Looked better in my sewing room than it does on this screen. LOL
I thought I'd show you how I add my borders. It's not the only way and I'm not claiming it is the right way, but it is the way I do it. The book says to cut two 70 1/2 x 3 1/2 for the sides of the quilt. I always measure first. My quilt may be different.

Woo-Hoo! 70 1/2" I was pretty excited about that measurement.


Other end.. 71", okay, not too bad. I take the 3 and average them.
70.5+71.5+71.=213 divided by 3 is 71". That's how long I'll cut my border strips for the top and bottom.

I don't have a huge studio so this is how I measure my long border strips. After cutting it 71" I mark the center of the border strip and the center of my quilt, line them up, then start pinning.
I do the same thing for the other direction once these two borders are sewn on.
You know what that means? MY BORDERS ARE ON! And that quilt top is complete! I couldn't be more thrilled!
So lets link up on Monday. If your top isn't done, that's fine, show us the blocks we haven't seen yet. This will be our final link up for Flags of the American Revolution quilt.
Have an awesome weekend!